Today, Greenstyle is releasing their laterst pattern – the Chelsea Pants. These pants are drafted for stable fabrics that have at least 25% stretch. This means that stretch denims and stretch wovens work for this pattern as well as stable knits like ponte, velvet, French terry, and double knits. The Chelsea pants also work great for maternity! I will be giving my tips at the end of this blogpost if you need to make adjustments for maternity like I did.

It is hard to pick a favorite when it comes to jeans that are comfortable, but I think this pink stretch denim pair might just be it! This was a remnant from Joann that is no longer listed on their website, but you can find other 7 oz stretch denims just like it here. For the waistband, I used cotton lycra from Made Whimsy.

Next, I wanted to see how these pants looked in a French terry. This pattern is not intended for fabrics with drape; rather, you want a fabric that holds its shape so that it bells out at the bottom. Light weight French terries with rayon will not work for this pattern. The green French terry I used is a pretty stable thicker cotton one I found at Wherehouse Fabrics in Dallas. These turned out super comfortable!


I also made a pair of Chelsea pants out of a stretch terry performance fabric that is in the loungeletics section at Joann Fabrics. This fabric is smooth on the outside but has a diamond terry pattern on the inside. These will be very warm pants and perfect for this upcoming winter!


The black tank modeled with my pink, green, and blue pants above is my Lago tank that I made very early in my pregnancy. I made no adjustments to it for maternity. I had just found out I was pregnant while making that top! The rayon fabric that I used has had the perfect stretch to accommodate my growing belly and is still holding on at 26 weeks. It is a free tank pattern and has been in heavy rotation in my closet this entire summer.
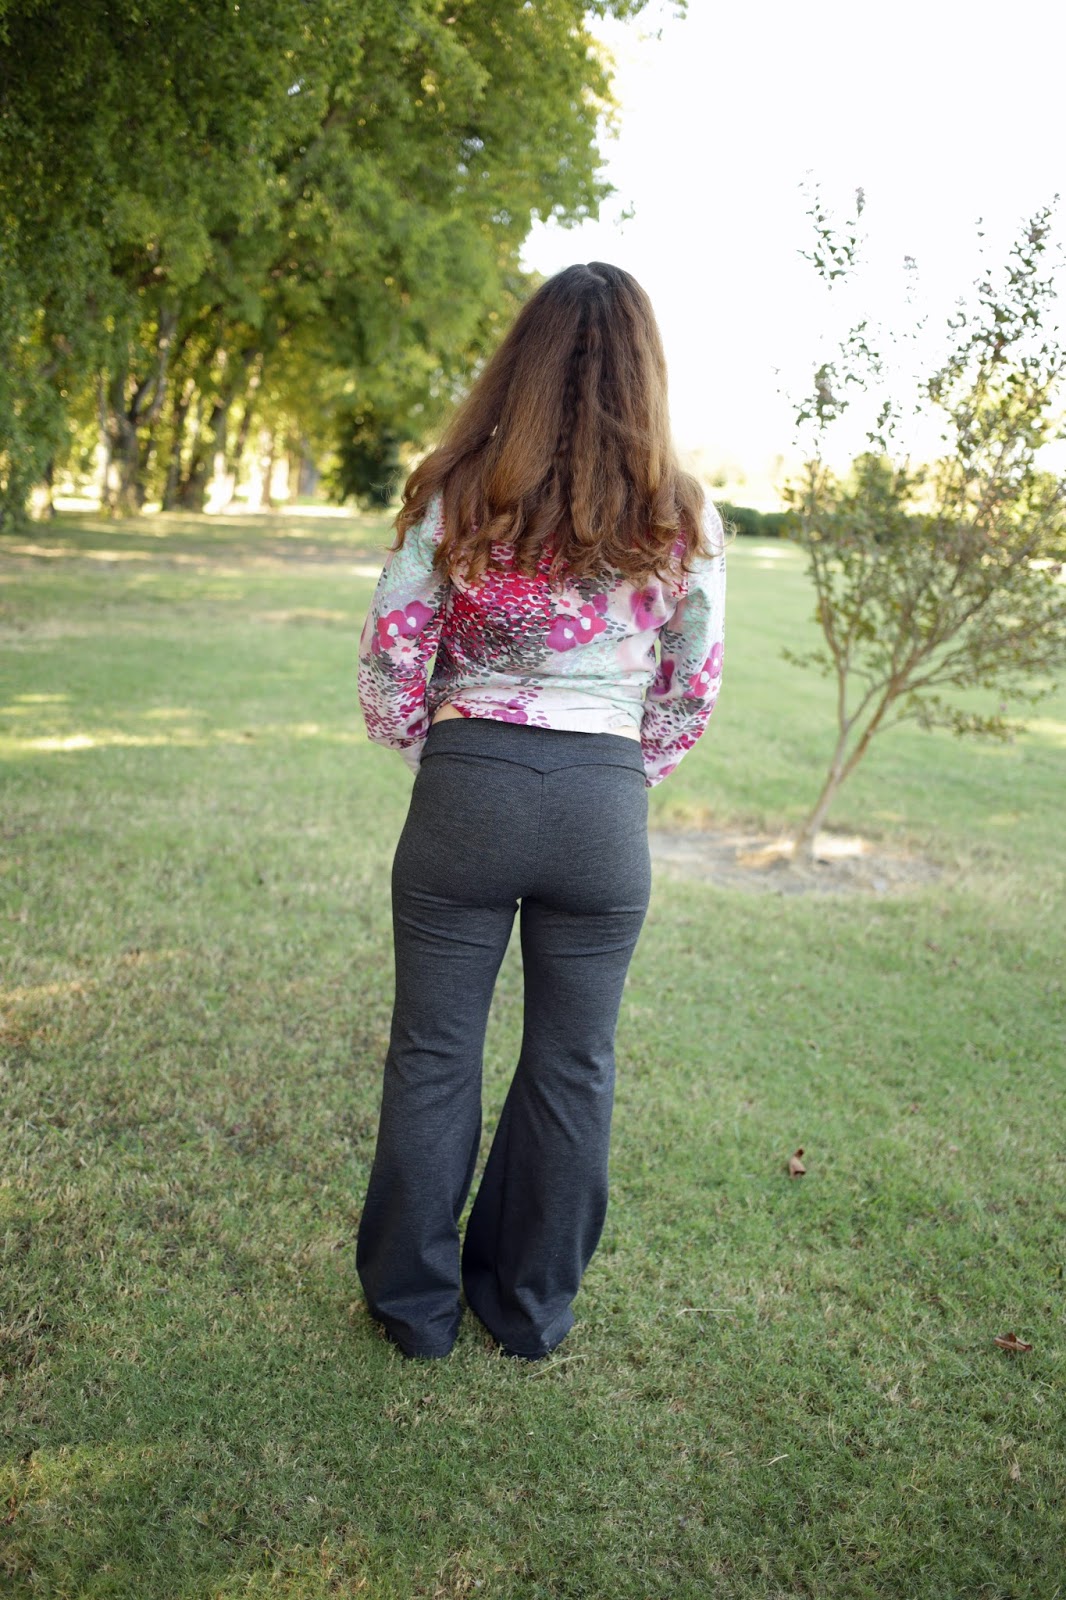
Lastly, I made a pair of Chelsea pants out of Ponte. Ponte is a great fabric for this pattern, and I am really happy with how these turned out. I am wearing them with my Cheyenne Tunic from Hey June Patterns. I made this top in testing during the winter of 2015 and think it is going to be a wonderful button down for breastfeeding my new baby this winter.


Of course, one of my favorite parts of pattern testing and taking photos is when I get to do it with one of my sweetest friends, Aimee.
Maternity Tutorial
Before attaching the waistband, you will need to try on your pants and see where the top of the pant meets the bottom of your belly. Fabric with a lot of vertical stretch will be higher up on your waist than fabric with little to no vertical stretch. You will want to take out any excess fabric that rises over your belly. Here is a photo of me doing this with the ponte fabric. I needed to take 1/2 an inch out of the rise where I have clipped. I only took out of the front of the pants, not the back. I did not need to take out any with the stretch denim because it had very little vertical stretch and landed right under my belly.

The Chelsea pant pattern comes with the option of three different rises on the waistband piece – low, mid, and high. I did not need to make any adjustments to the waistband piece when I made the low rise. My pants were a size medium, so I used the medium waist band exactly as written on the pattern. The pattern does, however, allow you to use whichever fabric you used for the body of the pants on the outer waistband piece. I only did this if the fabric had at least 50% horizontal stretch. If it had less than this (which was the case with the stretch denim), I used a cotton lycra for both the inner and outer waistband.

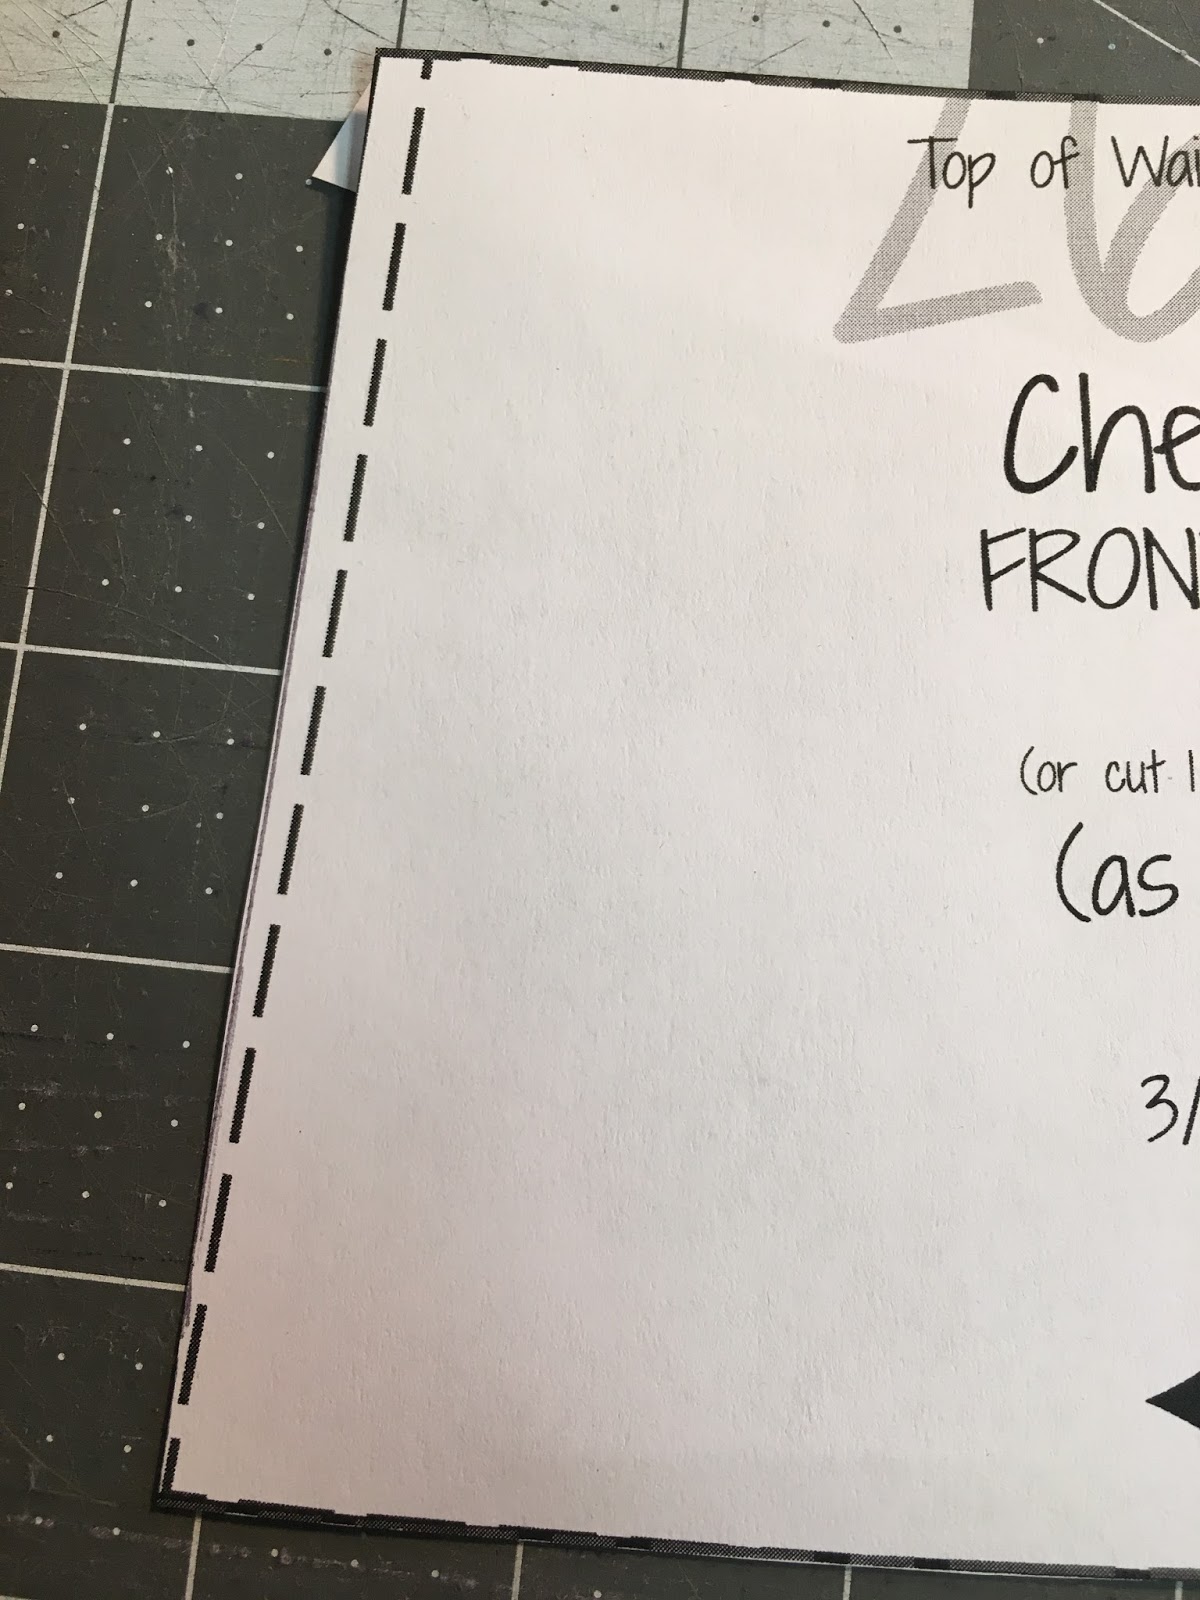
If you are using the mid or high rise waistbands during pregnancy, you will need to grade up a size or two to give your belly room. The bottom of the waistband that attaches to the top of your pants needs to be the same size as the pant that you made because the waistband is not stretched as you attach it. To grade up in your waistband, simply draw a line from the bottom of the waistband starting at the size of pant you made and draw the line to the size you need to grade up to at the top of the waistband.

You need to do this on both the front and back waistband pieces. Also, the type of fabric you use will make a huge difference in how comfortable your waistband feel on your stomach. Stretchy fabrics with good recovery are key. I like to use cotton lycra or nylon lycra for waistbands.
Always try on your waistband before attaching it to your pants!! You will save yourself many ripped stitches if you get a comfortable fit prior to attaching. When pregnant, I usually go for bands that do just enough to hold my pants up without putting pressure on my stomach. Your personal preference may be a higher rise with more compression. The waistband is very easy to modify on this pattern. If you need extra height in the rise, simply add the amount of inches you need at the top.
You can purchase the pattern for the Chelsea Pants here. It is on sale until Friday, October 6. I hope you enjoy making yours as much as I do. I was surprised at how quickly they came together!
Thanks for reading my blog, and I hope I have inspired you. You may follow me on Instagram or receive updates by liking my page on Facebook.
Photo Credit: My wonderful friend, Aimee Wilson.
Disclosures: This post may contain affiliate links, which means I receive a small compensation when you purchase via my link. There is no cost to you. Any and all opinions expressed are my own.


2 Comments
Sharon Aguilar · October 9, 2017 at 11:52 pm
Thank you, Emily! I was surprised how many fabrics I found at Joann that worked so great for this pattern.
Emily · October 7, 2017 at 3:47 am
These all look amazing!!!! I'm going to have to see if my store carries the performance terry!