In September 2016, on a shopping trip to the Dallas Fabric District, I found this wonderful rayon challis fabric from Steve at Super Textiles. The fabric just screamed dress to me because of its wonderful drape. I used Simplicity 2147 as my pattern base because it is such an easy pattern that would help me deal with the slippery and unstable nature of rayon challis. The pattern has dolman sleeves and the bottom of the bodice lands over the bust.

I posted a photo of my finished dress to Instagram when I initially made the dress and have since worn it so many times that it deserves its own blogpost as a tried and true pattern. I had no idea this would be a wardrobe staple when I made it! Fast forward to now, at almost 35 weeks pregnant and feeling rather large, I still wear my favorite dress… well, now it is a tunic, but I still feel so confident and happy when I wear it.

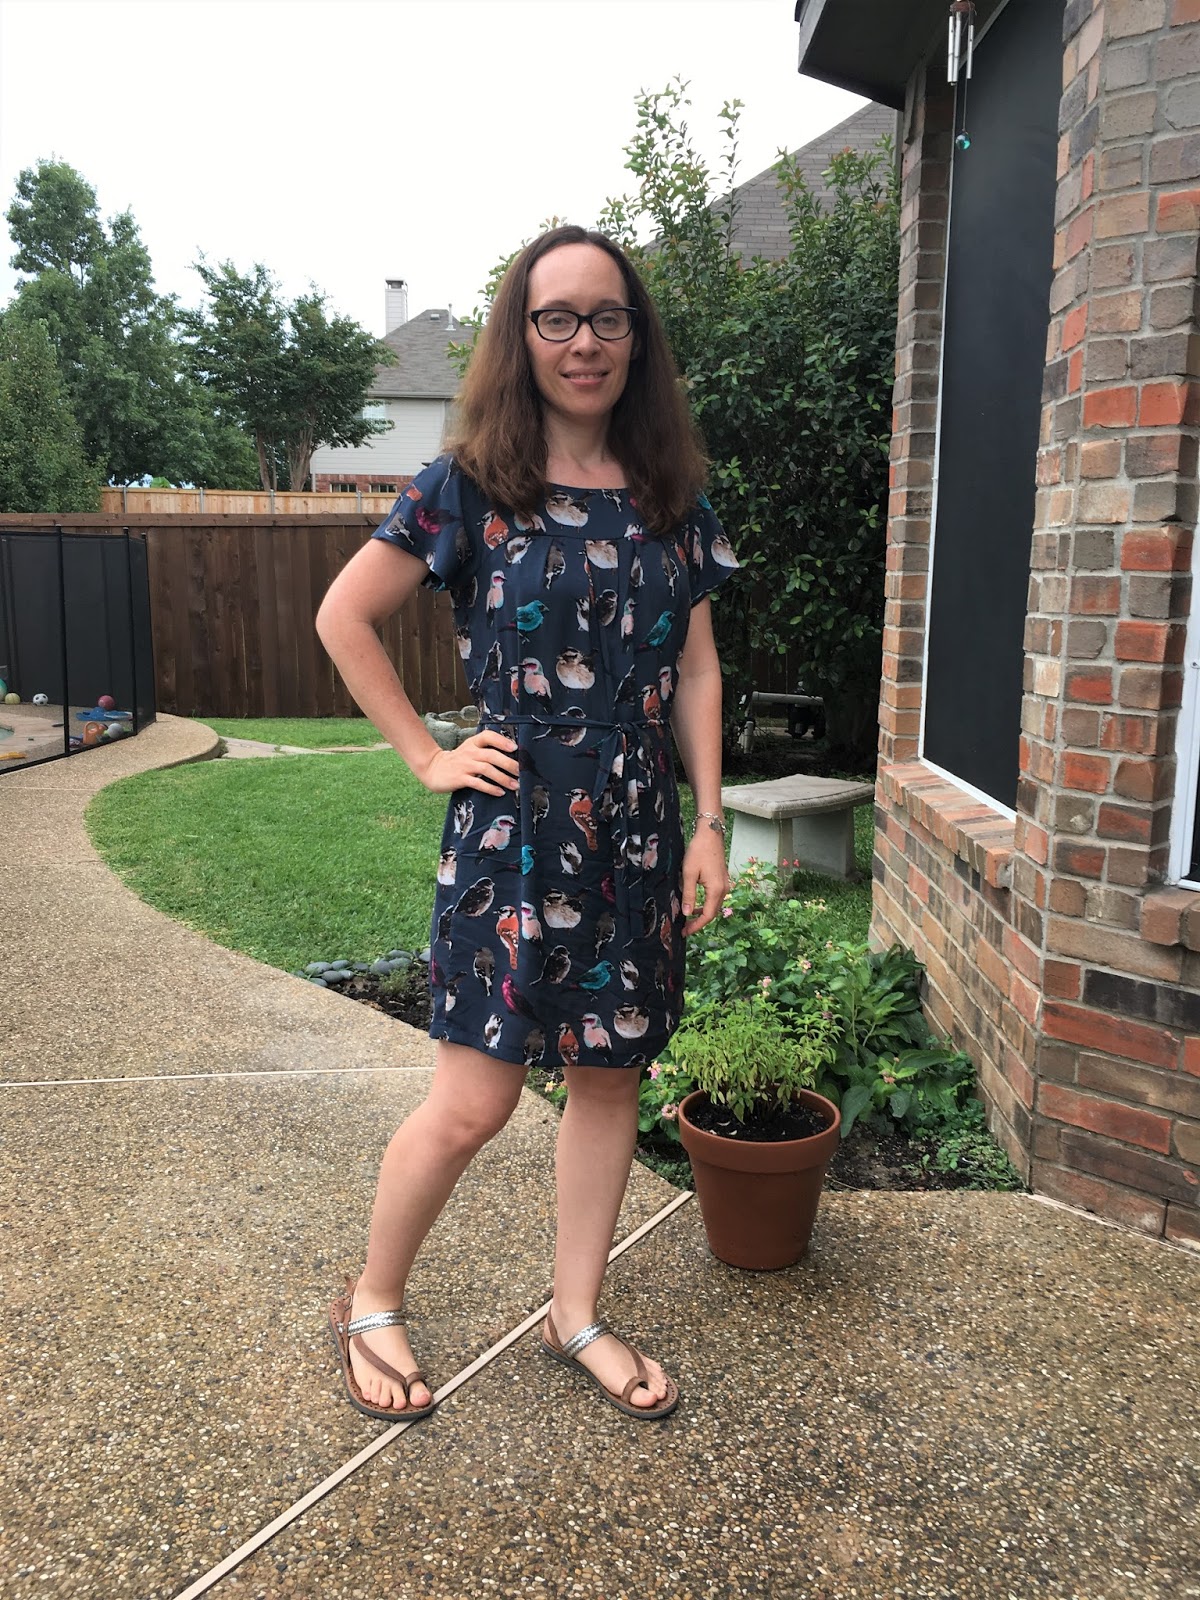
Never mind my face, I was telling Aimee (my amazing friend behind the camera lens) that I had not brushed my hair nor had I ironed my dress before photos. I had worn the dress all day and had not planned on taking photos of it that evening when I saw her, but she encouraged me to document one of my favorite makes to share with ya’ll.


Pattern Alterations
I made view B in a size 10, which fell in line with my bust measurement back in September of 2016 (32.5 inches). My bust is 36 inches now and the fit still has plenty of room. My waist and hips were a size 12 when I made the dress (and they are far from that now!), but I did not grade out due to the ease of the pattern in those areas. I also did not follow the pattern directions. The pattern calls for binding the arms and neckline with bias tape, but I knew that I could get a better finish with just doing a lined bodice. So, I cut two fronts and two backs and used the burrito method to line the bodice.

Also, view D of the pattern is a belt piece to give the waist some definition. I did not particularly like the style of the belt so I made a waist tie instead. For the tie, I used a piece of fabric that was 2 yards long and 1.25 inches wide. Since the fabric was not wide enough for 2 yards, I cut two 1 yard pieces and sewed the short ends together. Next, I sewed the strip into a tube (right sides together sewn on the length) and turned it right side out with a chopstick. This gave me a finished tie that was about 71 inches long and .75 inches wide. When I was not pregnant, I tied the waist tie at my natural waist. Now that I am pregnant, I can tie it right under my bust for that perfect baby bump definition.
Of course, you need to see flashback photos of how it looked on me when I first made it. These photos were taken in September 2016 with my IPhone, and for some reason, I did not think to smile! I’m amazed at the difference in the photography skills of my IPhone versus Aimee’s skills! Also, I love the shaping the bodice of this pattern gives to the bust! I find it super flattering even when my bust was small before pregnancy.

This pattern is a rather quick sew and is very beginner friendly (especially if you choose not to bind with bias tape). The key to this pattern is finding fabric with wonderful drape and cinching the waist with a tie or belt. If you use stiffer fabric, it will look like a bag and not be flattering at all. Also, if you are average height or taller, you may want to add length if you intend to wear it as a dress. I am 5″2′ and feel it is at a perfect length for me.
The black capris I am wearing with my tunic when it was too short to be a dress are my Hey June Mountain Pose pants, blogged about here.
Thanks for reading my blog, and I hope I have inspired you. You may follow me on Instagram or receive updates by liking my page on Facebook.
Photo Credit: My wonderful friend, Aimee Wilson
Disclosures: This post does not contain affiliate links. Any and all opinions expressed are my own.


0 Comments